Last Updated on: 16th December 2025, 11:10 am
Do you want to learn how to make a homemade toothbrush holder? Here is a complete guide!
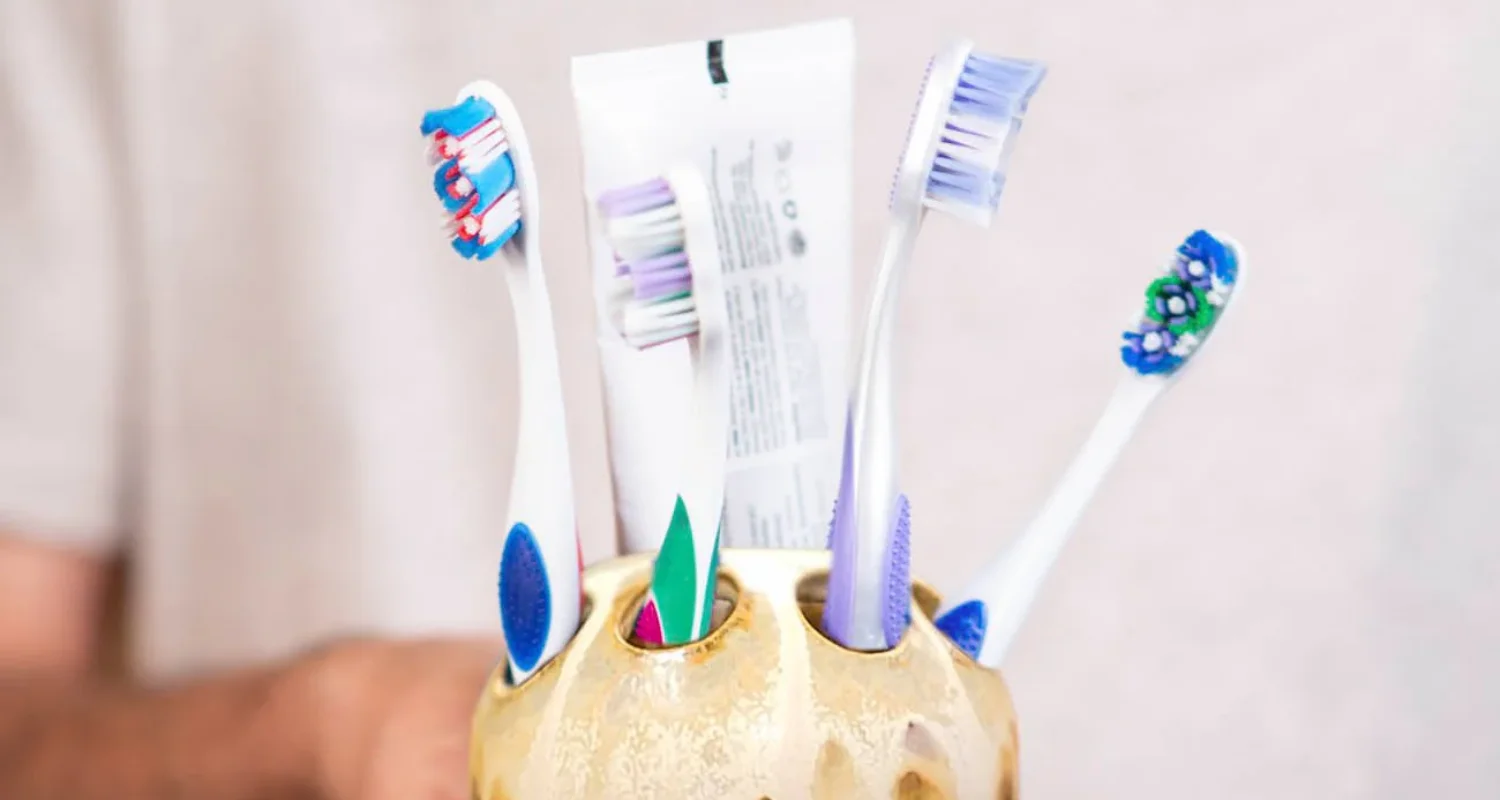
Maintaining proper toothbrush hygiene is essential to oral health. Toothbrushes are often stored in moist environments, making them susceptible to harboring bacteria and germs. Ensuring clean and safe storage can help prevent contamination and promote better hygiene practices for you and your family.
A homemade toothbrush holder offers a simple, cost-effective, and customizable way to keep your toothbrushes hygienic during storage. In creating your own holder, you can tailor the design to your personal style, bathroom décor, and specific storage needs, all using materials you may have at home.
In this guide, we’ll walk you through the steps of creating your own homemade toothbrush holder. From selecting the right materials to cleaning and maintenance, you’ll find everything you need to keep your toothbrush safe and hygienic in an eco-friendly and cost-effective way.
Is a Homemade Toothbrush Holder Good for Clean Toothbrushes?
Recent studies have revealed that flushing the toilet releases a large number of the particles and microorganisms present in feces into the air. These particles can adhere to exposed surfaces in the bathroom, such as toothbrushes and sponges. Using a suitable toothbrush holder is key to protecting your brush and preventing these microorganisms from contaminating it.
A homemade toothbrush holder works as a protective barrier by blocking bacteria, fungi and particles present in the environment. However, many of the toothbrush holders available on the market have problems such as low-quality materials, unsustainable designs, and difficulties in cleaning, which affects both their functionality and aesthetics.
Opting for a homemade toothbrush holder is not only a more ecological alternative, but also allows you to customize it according to your needs. In addition, it is easy to clean, is inexpensive, and can be made with trusted materials that guarantee greater safety and hygiene for your toothbrush.
Other thing you have to be careful is choosing the right toothbrush. Check out what we recommend you by clicking here.
How to make a homemade toothbrush holder?
Materials
● Glass jars or small glass containers.
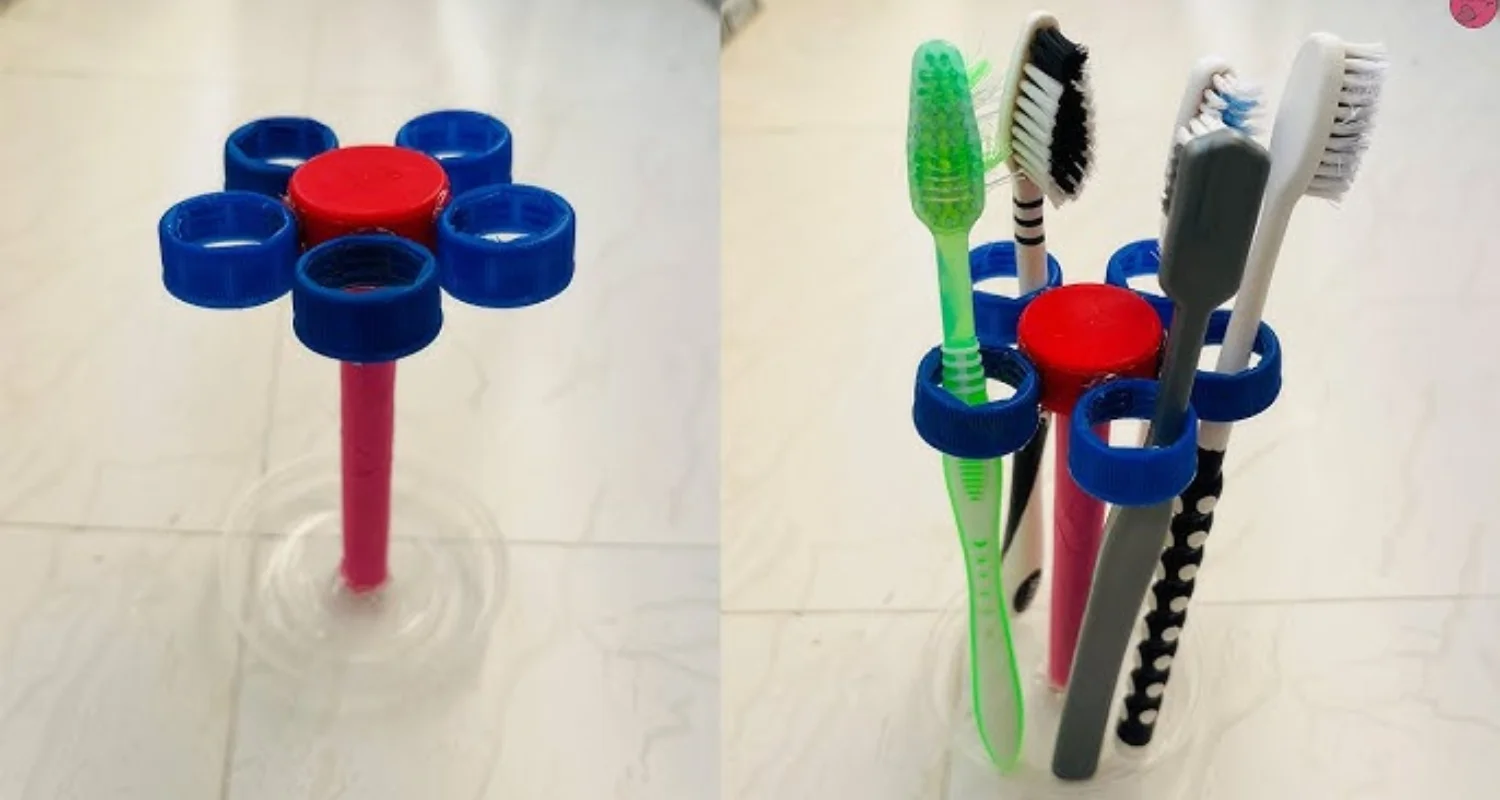
● Ceramic or plastic containers such as soda bottles.
● Wooden blocks or recycled cans.
● Drill, sandpaper, non-toxic paint/sealant.
Step-by-step guide: create your own homemade toothbrush holder
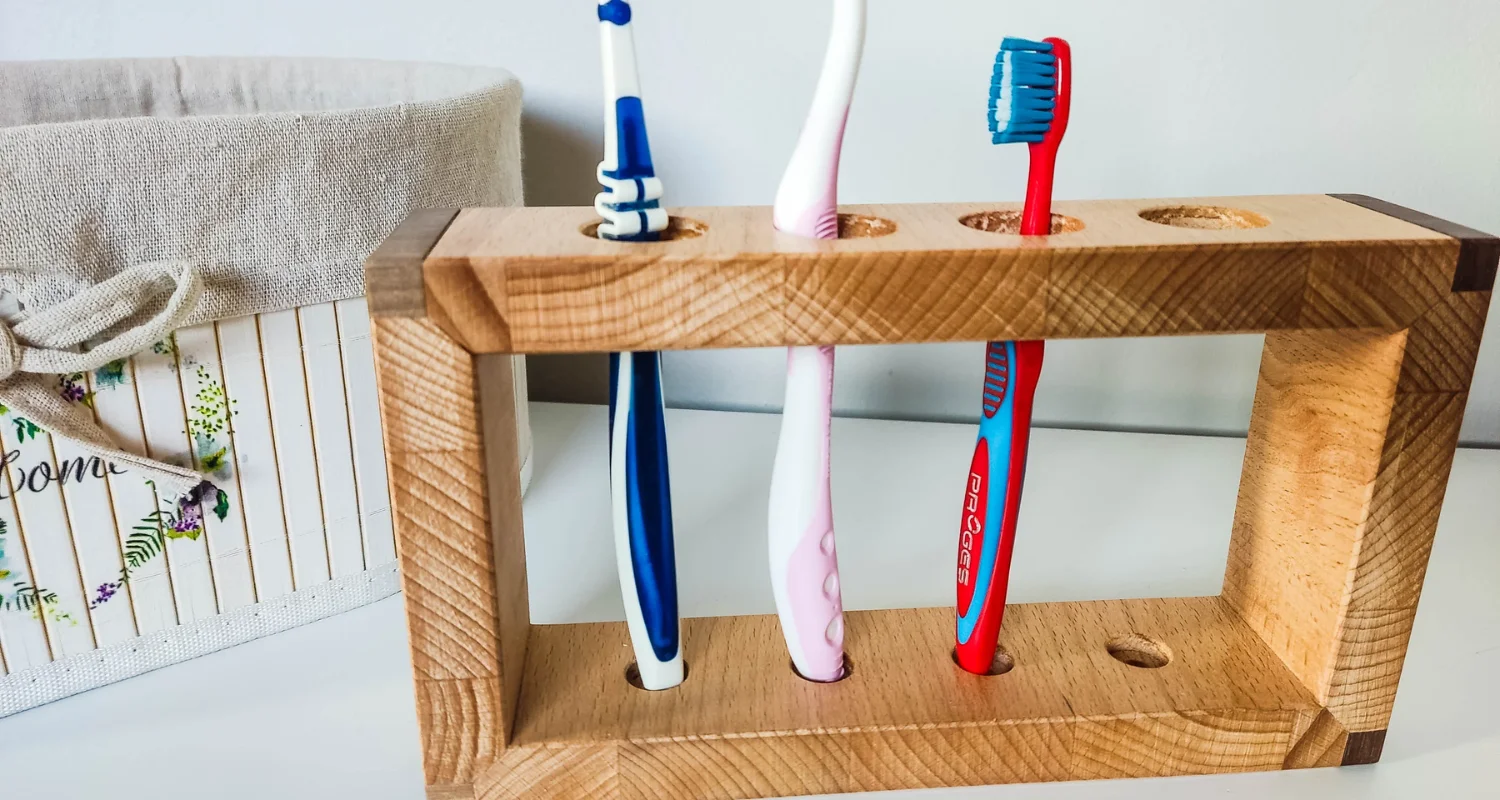
1. Select the type of base for your homemade toothbrush holder: It is important to select a waterproof and durable base. If your bathroom needs a minimalist touch you can use a glass base; if you want a rustic wooden design, or if you desire a more modern effect you can use a metal base.
2. Measure and mark the holes where each brush will go: the diameter of each hole should be between 1 to 1.5 centimeters. Leave a minimum space of 1 to 2 centimeters between each hole; this will allow good ventilation and prevent cross contamination between multiple people’s brushes.
3. Drill, cut or punch the holes: Be careful here: look for a firm support surface that will provide stability.
a. For wood, use a drill with a wood drilling attachment. Hold it firmly and make vertical back and forth movements.
b. If you use a glass, ceramic or plastic container, the marks and holes must be made on a lid that provides stability to the brushes placed in the holder.
c. For metal supports such as soda cans, use the hole through which you drink as a guide, and make holes with the drill and a metal coupling.
4. Sand the edges: Remove rough or sharp edges using a sanding sequence, starting with coarse-grit sandpaper and polishing with fine-grain sandpaper. Sandpaper with numbers less than 180 are considered coarse , while numbers greater than 180 are considered fine. For a smooth surface, we suggest finishing with 360 sandpaper or a larger gauge.
5. Apply a protective coating: Porous materials such as ceramic or wood require the application of a non-toxic varnish or sealant. To do this, sand the entire surface of the base of the brush holder evenly, removing any excess with air and a dry cloth. Apply at least two coats of sealant and follow the instructions provided by the manufacturer.
6. Let’s get to work: Personalize the base of your toothbrush holder with acrylic or waterproof paint. You can make elegant and fun designs: the limit is only your creativity. We suggest avoiding materials that retain moisture such as fabrics or untreated porous materials.
7. Enjoy your new toothbrush holder: Check that the brush handles enter and exit the toothbrush holder easily, and it is stable. We suggest placing your toothbrush holder on a clean, dry surface away from the toilet: for example a shelf above the sink, which allows easy access for the little ones in the home.
As a final recommendation, if your brushes do not have a protective cover, you can complement your homemade toothbrush holder with a plastic one that protects the brushes from fungi, bacteria and contaminating particles present in the bathroom. You can even use the bottom of a plastic bottle.
Disinfection of the homemade toothbrush holder
Why disinfect the homemade toothbrush holder?
By acting as a protective barrier, the homemade toothbrush holder accumulates a large number of microorganisms and particles on its surface, which justifies frequent cleaning and disinfection of the outside. It is also important to keep the inside of the toothbrush holder clean and dry, as humid environments promote the formation of fungi and bacteria that can contaminate toothbrushes.
How to prevent the formation of fungus?
Fungi are microorganisms that grow in humid environments and surfaces that are not regularly cleaned such as corners, edges or crevices. Although their growth is slow, it can cause allergic reactions, infections, and stomach problems. Its formation can be prevented with correct disinfection and frequent cleaning of all surfaces of the toothbrush holder, in addition to keeping it dry.
How to disinfect the homemade toothbrush holder?
Deep cleaning of the homemade toothbrush holder can be done with detergents or antibacterial soaps two times a month, using a brush or sponge exclusively for this purpose, by scrubbing all surfaces of the toothbrush holder and rinsing with clean water.
It is recommended to do a weekly cleaning with a disinfectant agent such as sodium hypochlorite, white vinegar, or chlorhexidine, using a towel to control the growth of fungi and bacteria. You can also use disinfectant wipes that you can find in a supermarket.
Here is a step by step guide for cleaning:
1. Prepare a soapy solution. With two teaspoons of antibacterial soap in 1 liter of water.
2. Apply it evenly on the brush holder (lid, support and base) and the brush guard.
3. Brush all areas carefully, including edges, crevices and recesses.
4. Rinse well with running water.
5. Dry the toothbrush holder completely.
6. Before placing the brushes, try to disinfect them.
How to disinfect the toothbrush?
An easy and economical way to disinfect your toothbrush is with sodium hypochlorite:
1. Prepare a 5.25% sodium hypochlorite solution (see technical data sheet). Mix 4 ml of hypochlorite with 996 ml of water (this will give 1 liter of solution at 200 ppm). To simplify it, dilute a tablespoon of hypochlorite in a liter of water.
2. Fill a spray bottle with the mixture for easy use.
3. Apply and let it act for 5 minutes
4. Remove the solution with a clean cloth.
5. Rinse under running water before use.
How to properly store your toothbrush?
Before and after using the toothbrush it is important to wash it with hot water; this partially cleans the bristles of the brush and promotes faster drying. For correct storage you must:
1. Avoid contact between the toothbrushes stored in the toothbrush holder. This favors a dry environment with adequate ventilation.
2. Keep the brush bristles protected, either with the individual brush protector or the brush holder cover.
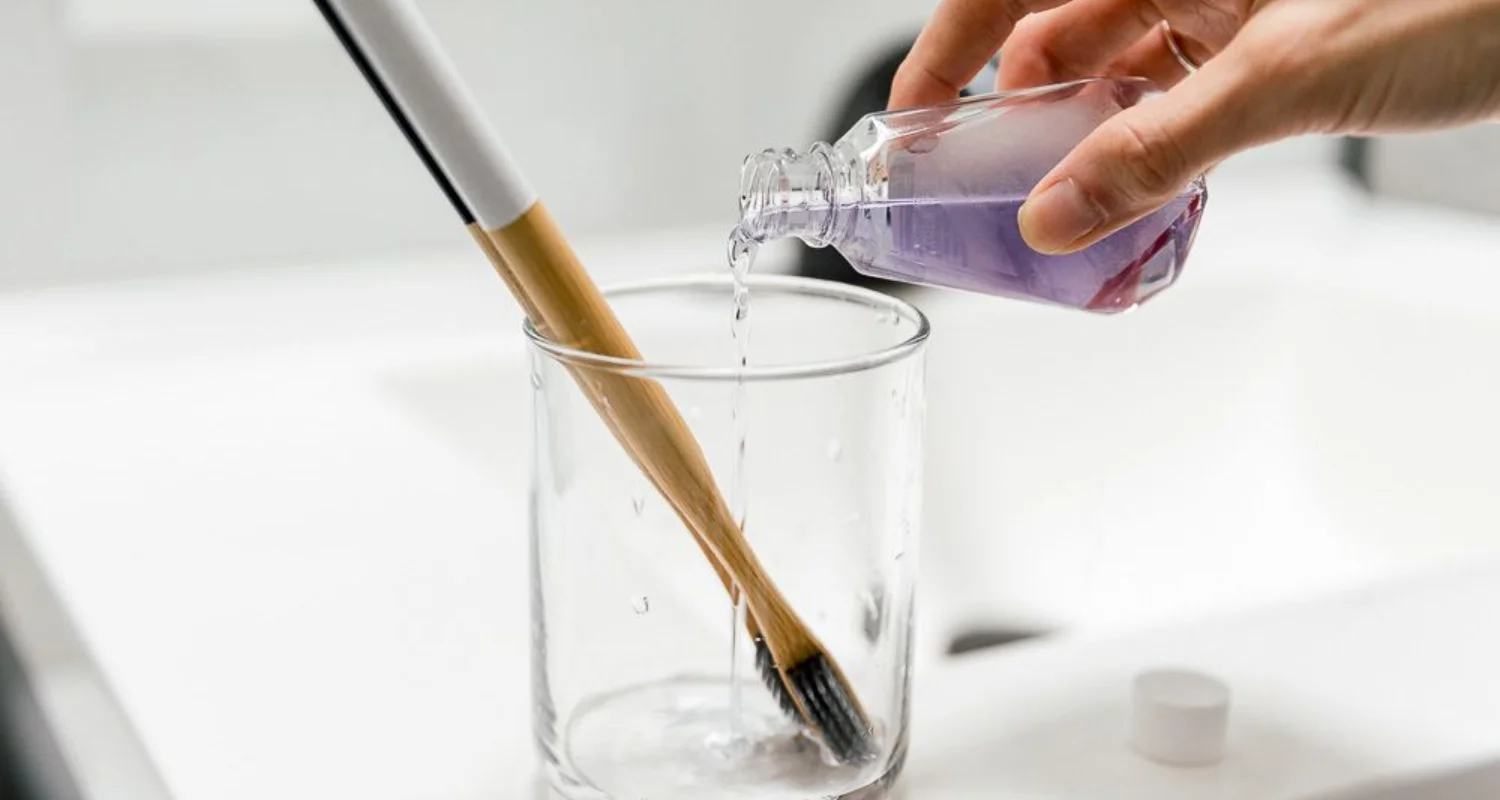
3. Dip the brush in antibacterial solutions such as hydrogen peroxide, white vinegar, or mouthwash for 5 minutes. This decreases the number of microorganisms on the brush bristles.
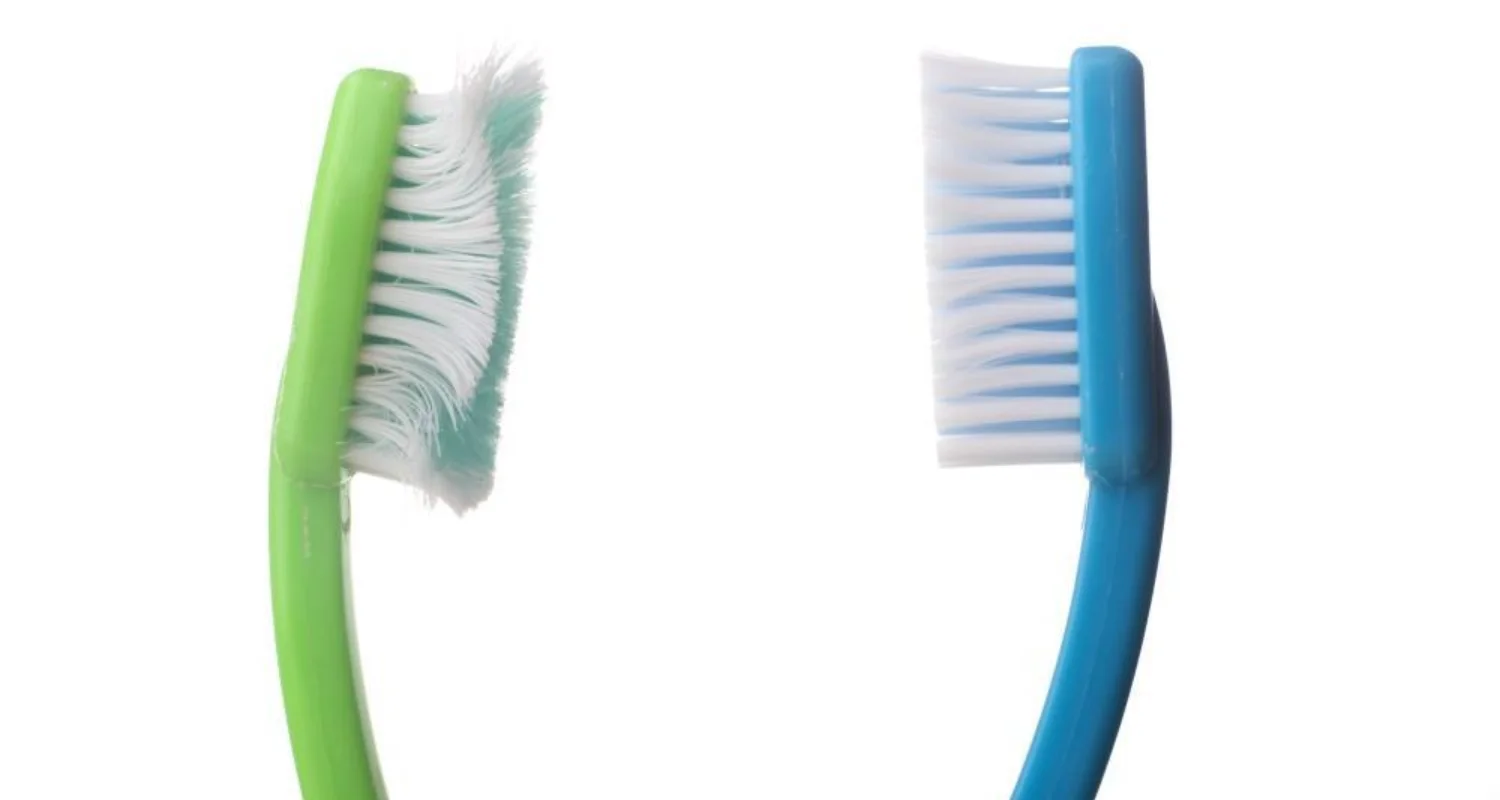
4. Change your toothbrush every 3 months. After 3 months, the bristles of the brush weaken, making brushing less effective and causing more bacteria to build up. Get a new toothbrush at this link!
A clean, well-maintained homemade toothbrush holder is essential to promoting better oral hygiene and protecting your toothbrush from harmful contaminants. By opting for a homemade toothbrush holder, you not only ensure a customized solution tailored to your needs, but you are also taking an eco-friendly and cost-effective approach to bathroom essentials.
Regularly cleaning and disinfecting your homemade toothbrush holder and brush are vital to preventing the buildup of bacteria and fungus. By following the simple steps outlined in this guide, you can create a safe storage environment, extend the life of your toothbrush, and promote your overall oral health.
Take control of your toothbrush hygiene today with these handy homemade solutions and maintenance tips. A little effort goes a long way to keeping your smile healthy, fresh, and protected!
Frequently Asked Questions
What can I use as a homemade toothbrush holder?
You can use everyday items like glass jars, ceramic containers, wooden blocks, or recycled cans to create a handy toothbrush holder. Ensure the material is waterproof and easy to clean. Customize it with drilled holes or dividers to keep toothbrushes upright and ventilated.
What is the most sanitary way to store a toothbrush?
The most sanitary way to store a toothbrush is to keep it upright in a well-ventilated holder. Ensure the toothbrush does not touch others to prevent cross-contamination. Place the holder in a clean, dry area away from the toilet to reduce exposure to airborne particles.
What is the most hygienic toothbrush holder?
The most hygienic toothbrush holders are those made of non-porous, easy-to-clean materials like glass, stainless steel, or treated wood. They should allow for proper ventilation to prevent moisture buildup and regular cleaning and disinfecting to avoid bacterial or fungal growth.
How often should I clean my homemade toothbrush holder?
Clean your homemade toothbrush holder thoroughly every two weeks with antibacterial soap or detergent. Disinfect weekly using a solution of vinegar, chlorhexidine, or diluted sodium hypochlorite to prevent bacterial and fungal buildup.
How do I prevent fungus in my toothbrush holder?
To prevent fungus, keep your toothbrush holder clean and dry. Regularly disinfect it and avoid using materials that retain moisture, like untreated wood or fabric. Placing it in a well-ventilated area and wiping it dry after cleaning can also help reduce fungal growth.
Share
References
1. Clinic, C. (2024, 27 June). How to clean your toothbrush. Cleveland Clinic. https://health.clevelandclinic.org/wash-it-soak-it-pitch-it-4-tips-for-a-clean-toothbrush
2. Richards, D. (2012). How clean is your toothbrush? Evidence-Based Dentistry, 13(4), 111. https://doi.org/10.1038/sj.ebd.6400895
3. Sobic, A. (2016, 21 Mars). 10 DIY Toothbrush Holders to Suit Every Style. Off The Cusp. https://www.offthecusp.com/10-diy-toothbrush-holders-suit-every-style/
3. Tan, S. (2022, 8 April). How to Clean Your Toothbrush. WebMD. https://www.webmd.com/oral-health/how-to-clean-toothbrush
4. Watson, K. (2020, 25 junio). How to Disinfect Your Toothbrush and Keep It Clean. Healthline. https://www.healthline.com/health/dental-and-oral-health/how-to-clean-toothbrush#when-to-replace-a-toothbrush
-
DDS Juliana Garzon [Author]
Dr. Juliana Garzón Ariza Endodontics Specialist | Passionate Advocate for Oral Health Transformation Graduating from the esteemed Universidad Nacional de Colombia in 2021, I am a dentist and a final-year resident specializing in Endodontics. My professional mission is to transform oral health through prevention, highly specialized treatments, and patient education. With a strong focus on dental research, I am driven to innovate solutions in critical areas such as dental pain, infections, dent...
View all posts


